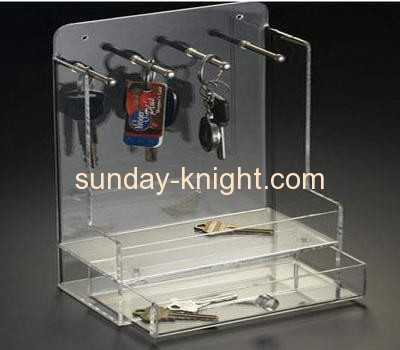
How to custom made the lucite display box
2015-10-20
cropsong
First: confirm the size of the lucite display box.
Decide what do you want to display in the lucite display box and then measure the size of collectables item which would determine how big you need the display box to be. Measure the height, width and depth of the display item. You need four sides that are identical and a top and bottom that are equal to the width and the depth of the overall lucite display box.
Then: cut the lucite sheet.
You should wear safety equipment in case of acrylic powder spin off small pieces into your eyes or smaller ones you can inhale before cutting lucite sheet.
And then: assemble the lucite display box.
Place one of the ends onto the work area and apply acrylic glue to the side and attach one of the other ends so that it is standing up. Repeat with the third side, top and bottom until you have a box without a back. Use cloth to wipe off excess acrylic glue from the inside. Allow the acrylic glue to cure for at least 24 hours, it should need at least 48 hours if in winter
At last: finishing
Place the remaining side on the top of lucite display box to cover the opening. Determine where you want to place the hinges and then attach them to the remaining side,then it is the door. Once the door is attached with hinges, you can keep the lucite display box up in the direction you intend for it to be in.

